Tips og triks / 5 minutter /
Setting up Storybook 7 with Vite and Tailwind CSS
Setting up Storybook with Tailwind can be quite a challenge, and there are a lot of recipes out there that either don’t work or are outdated. The Storybook web site points out the highlights of using Storybook 7 with Vite:

- 🏎️ Pre-bundled for performance
- 🙅 No Webpack and smaller install size
- 🪄 Zero config
- 🌐 Vue 2 + 3, Svelte, React, and more
And I managed to easily set this up in three steps:
- Create a project with Vite
- Add Tailwind
- Add Storybook
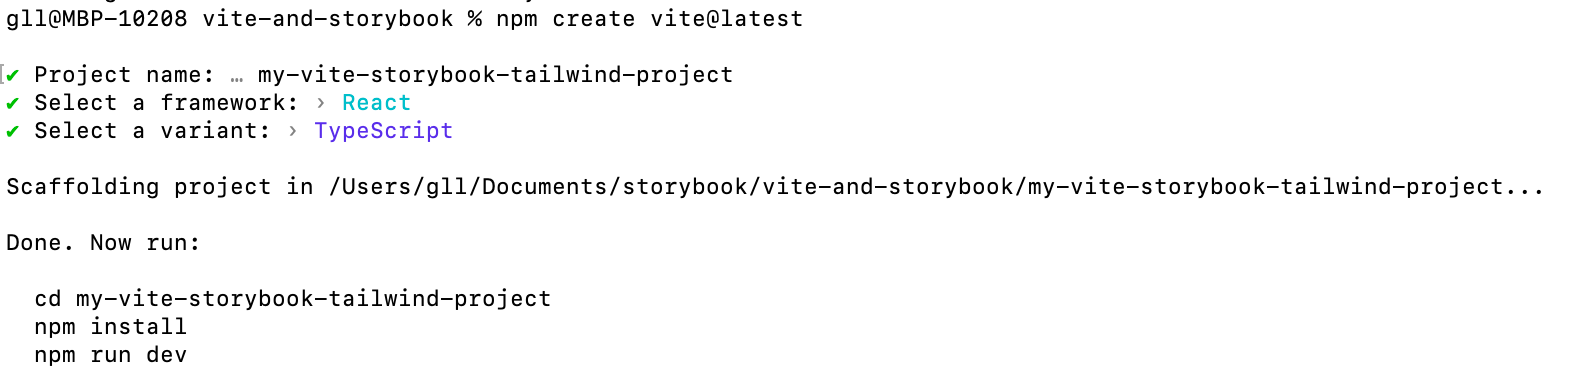
1 Create the Vite project
A) Create a new project from a terminal
I opted for a React project with TypeScript
B) In the terminal change directory to the project and run npm install - or just npm i
2 Add Tailwind to the project
A) Install Tailwind
B) Init the Tailwind config
C) Edit the config file
Now you have created both a tailwind and a postcss config file. You need to add the right file types that you want to style with Tailwind in the file tailwind.config.cjs:

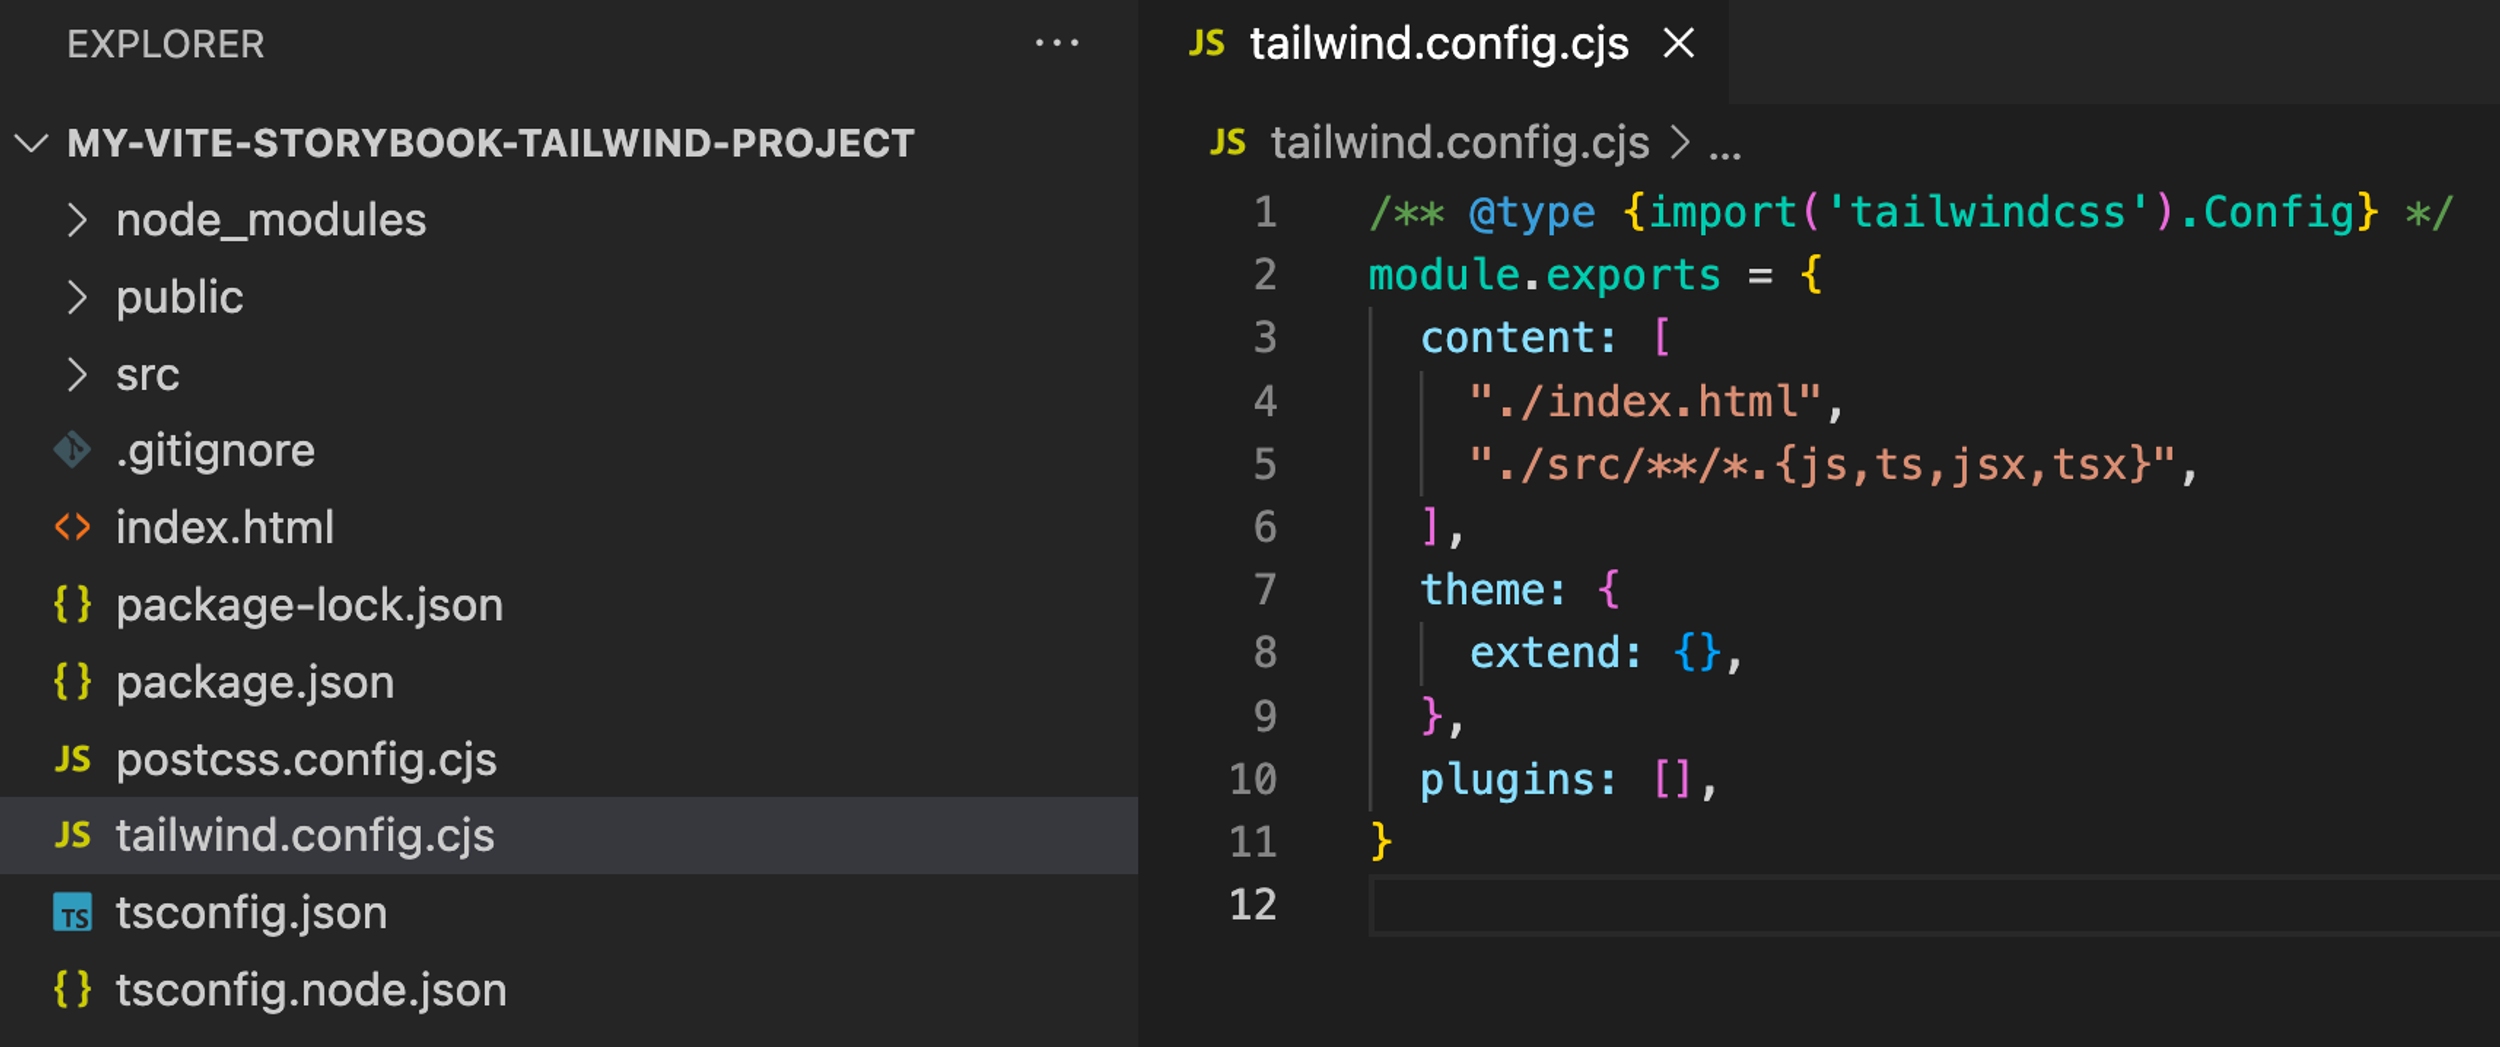
In the root folder of your project, you’ll find the Tailwind config file
In the root folder of your project, you’ll find the Tailwind config file
D) Add the Tailwind directives to .src/index.css

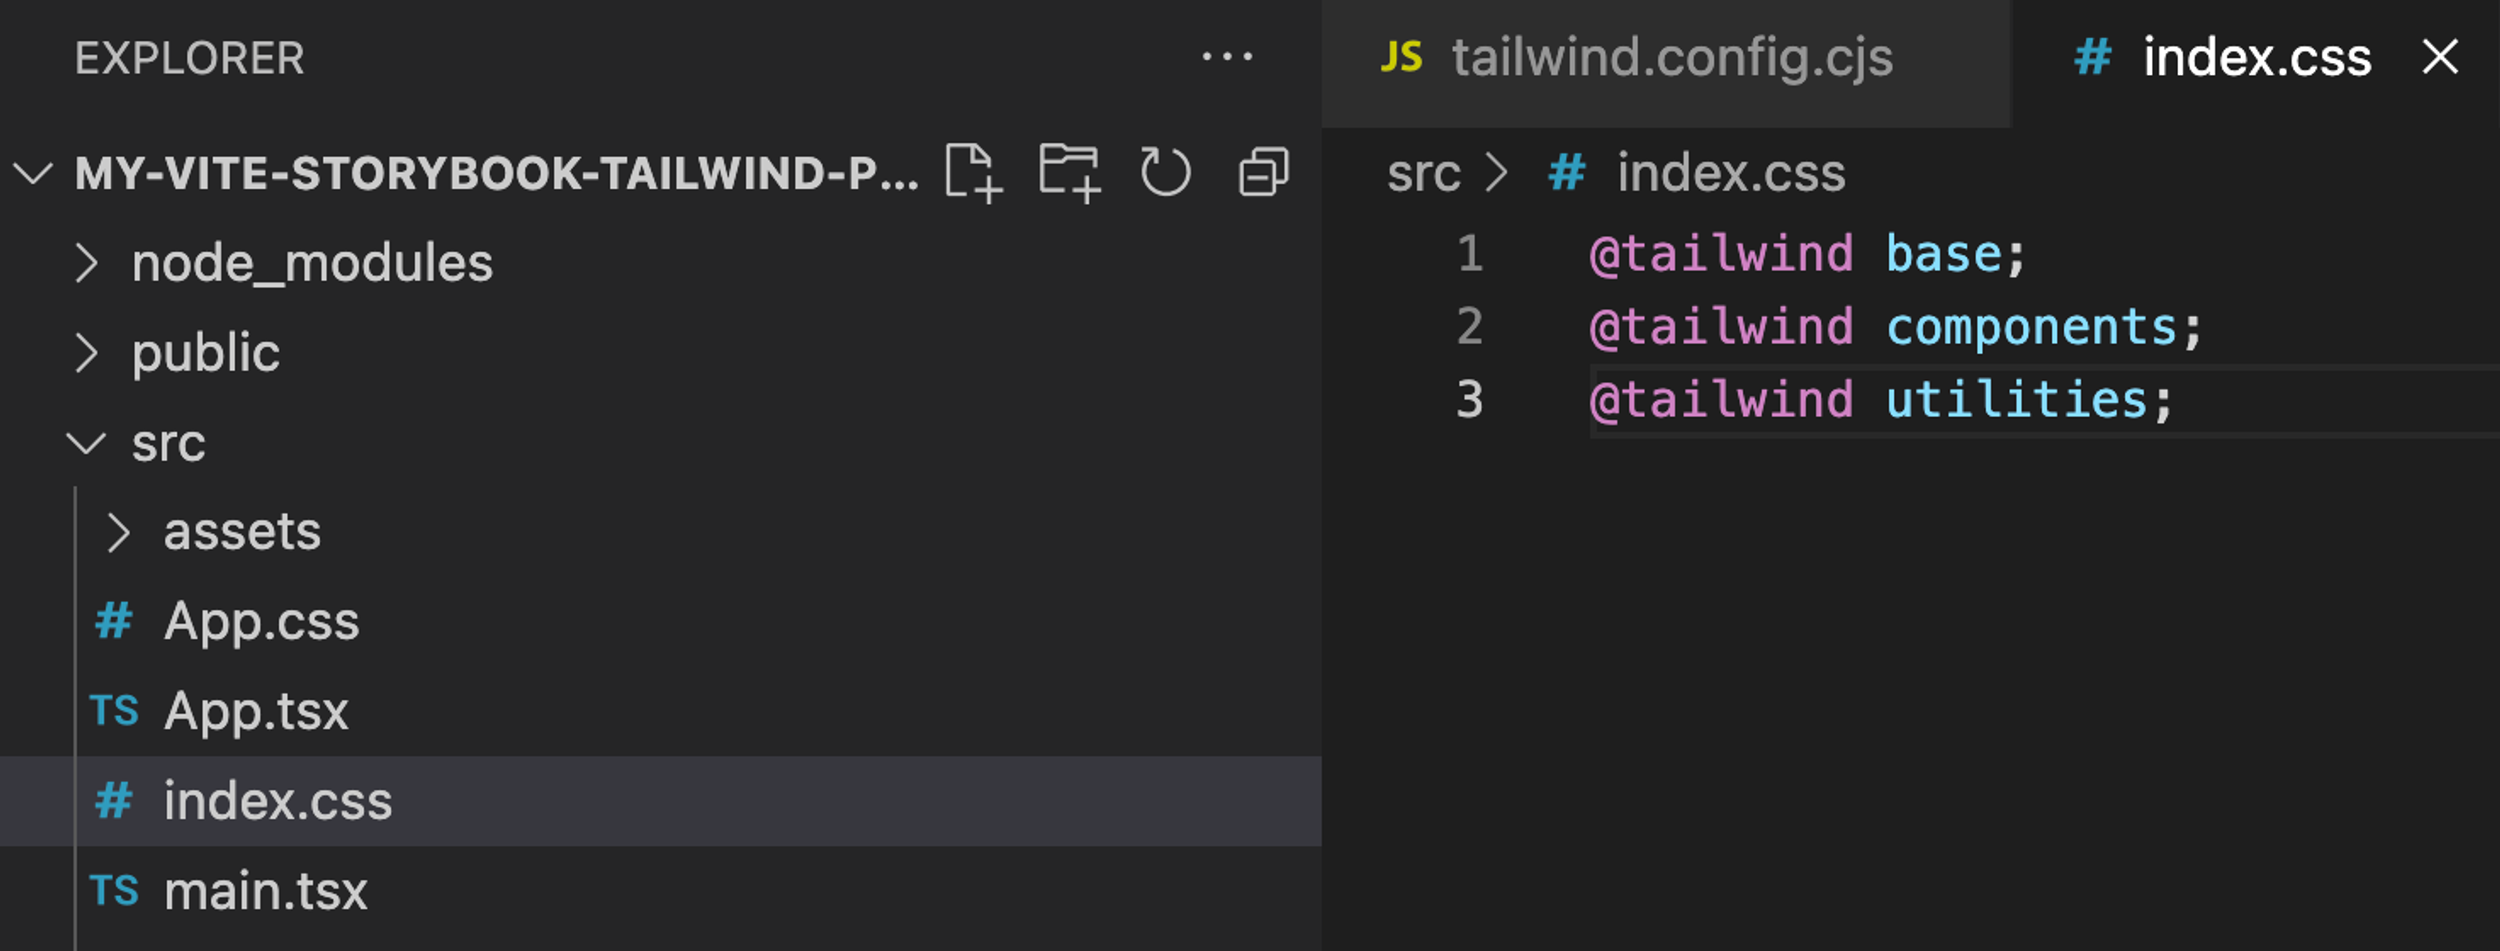
Replace the content of index.css
Replace the content of index.css
E) Check if it’s working like it should
In a terminal, start the dev server
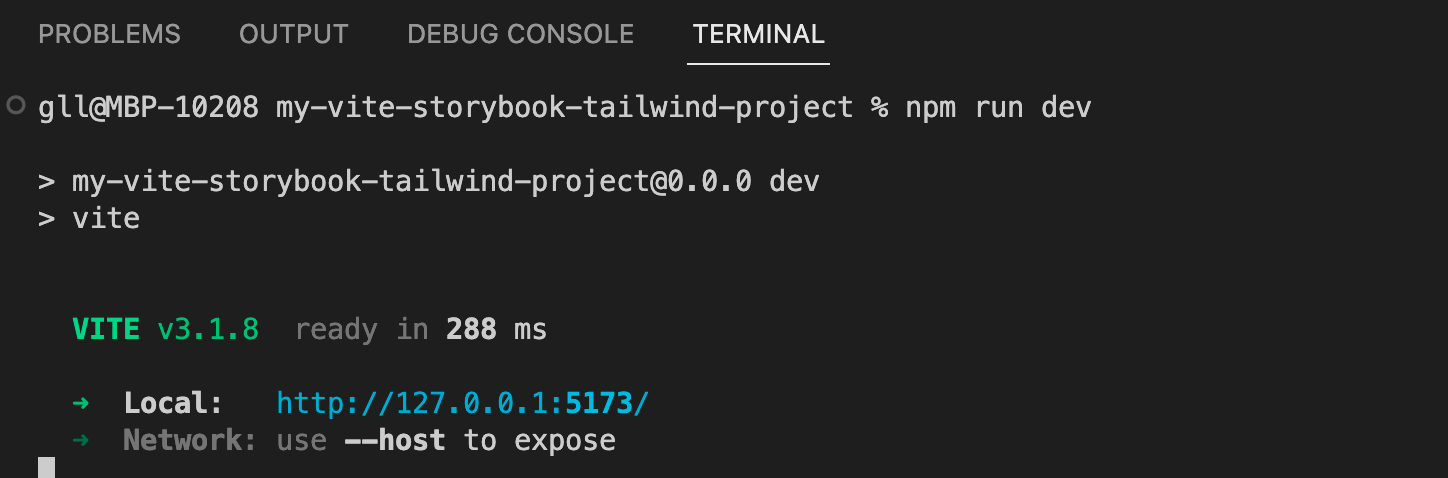
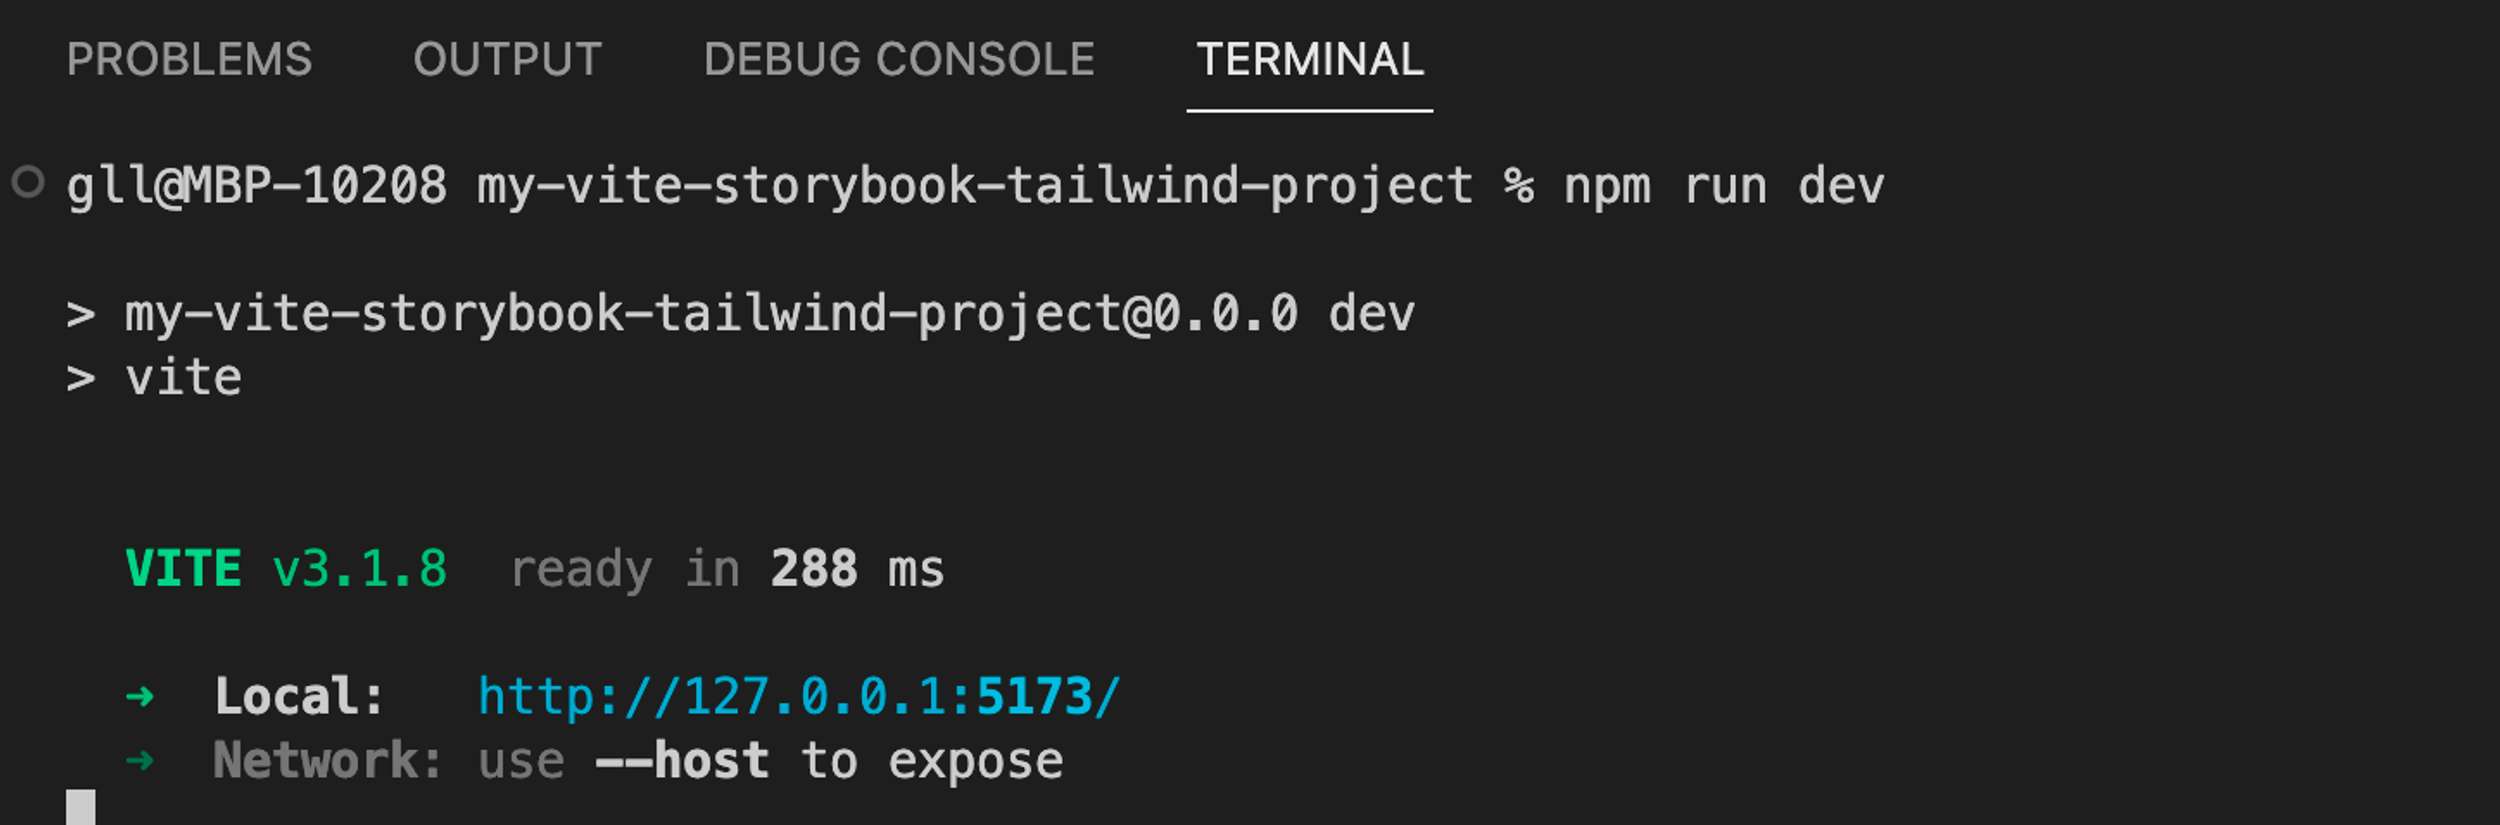
The server is now running, and you can open it in a browser.
The server is now running, and you can open it in a browser.
Add some Tailwind code to .src/App.tsx and to verify that it works as it should.
F) Now Tailwind should be working in your app


3 Add Storybook 7
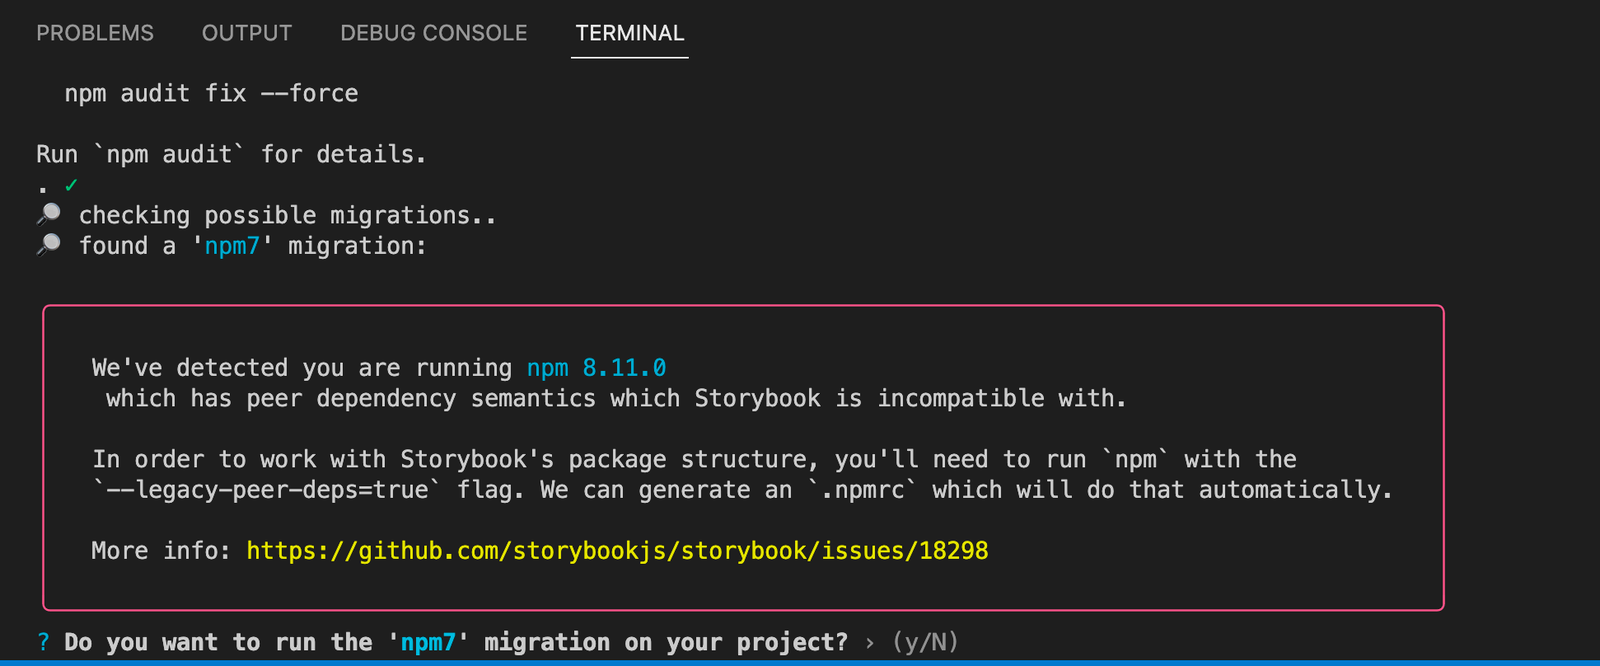
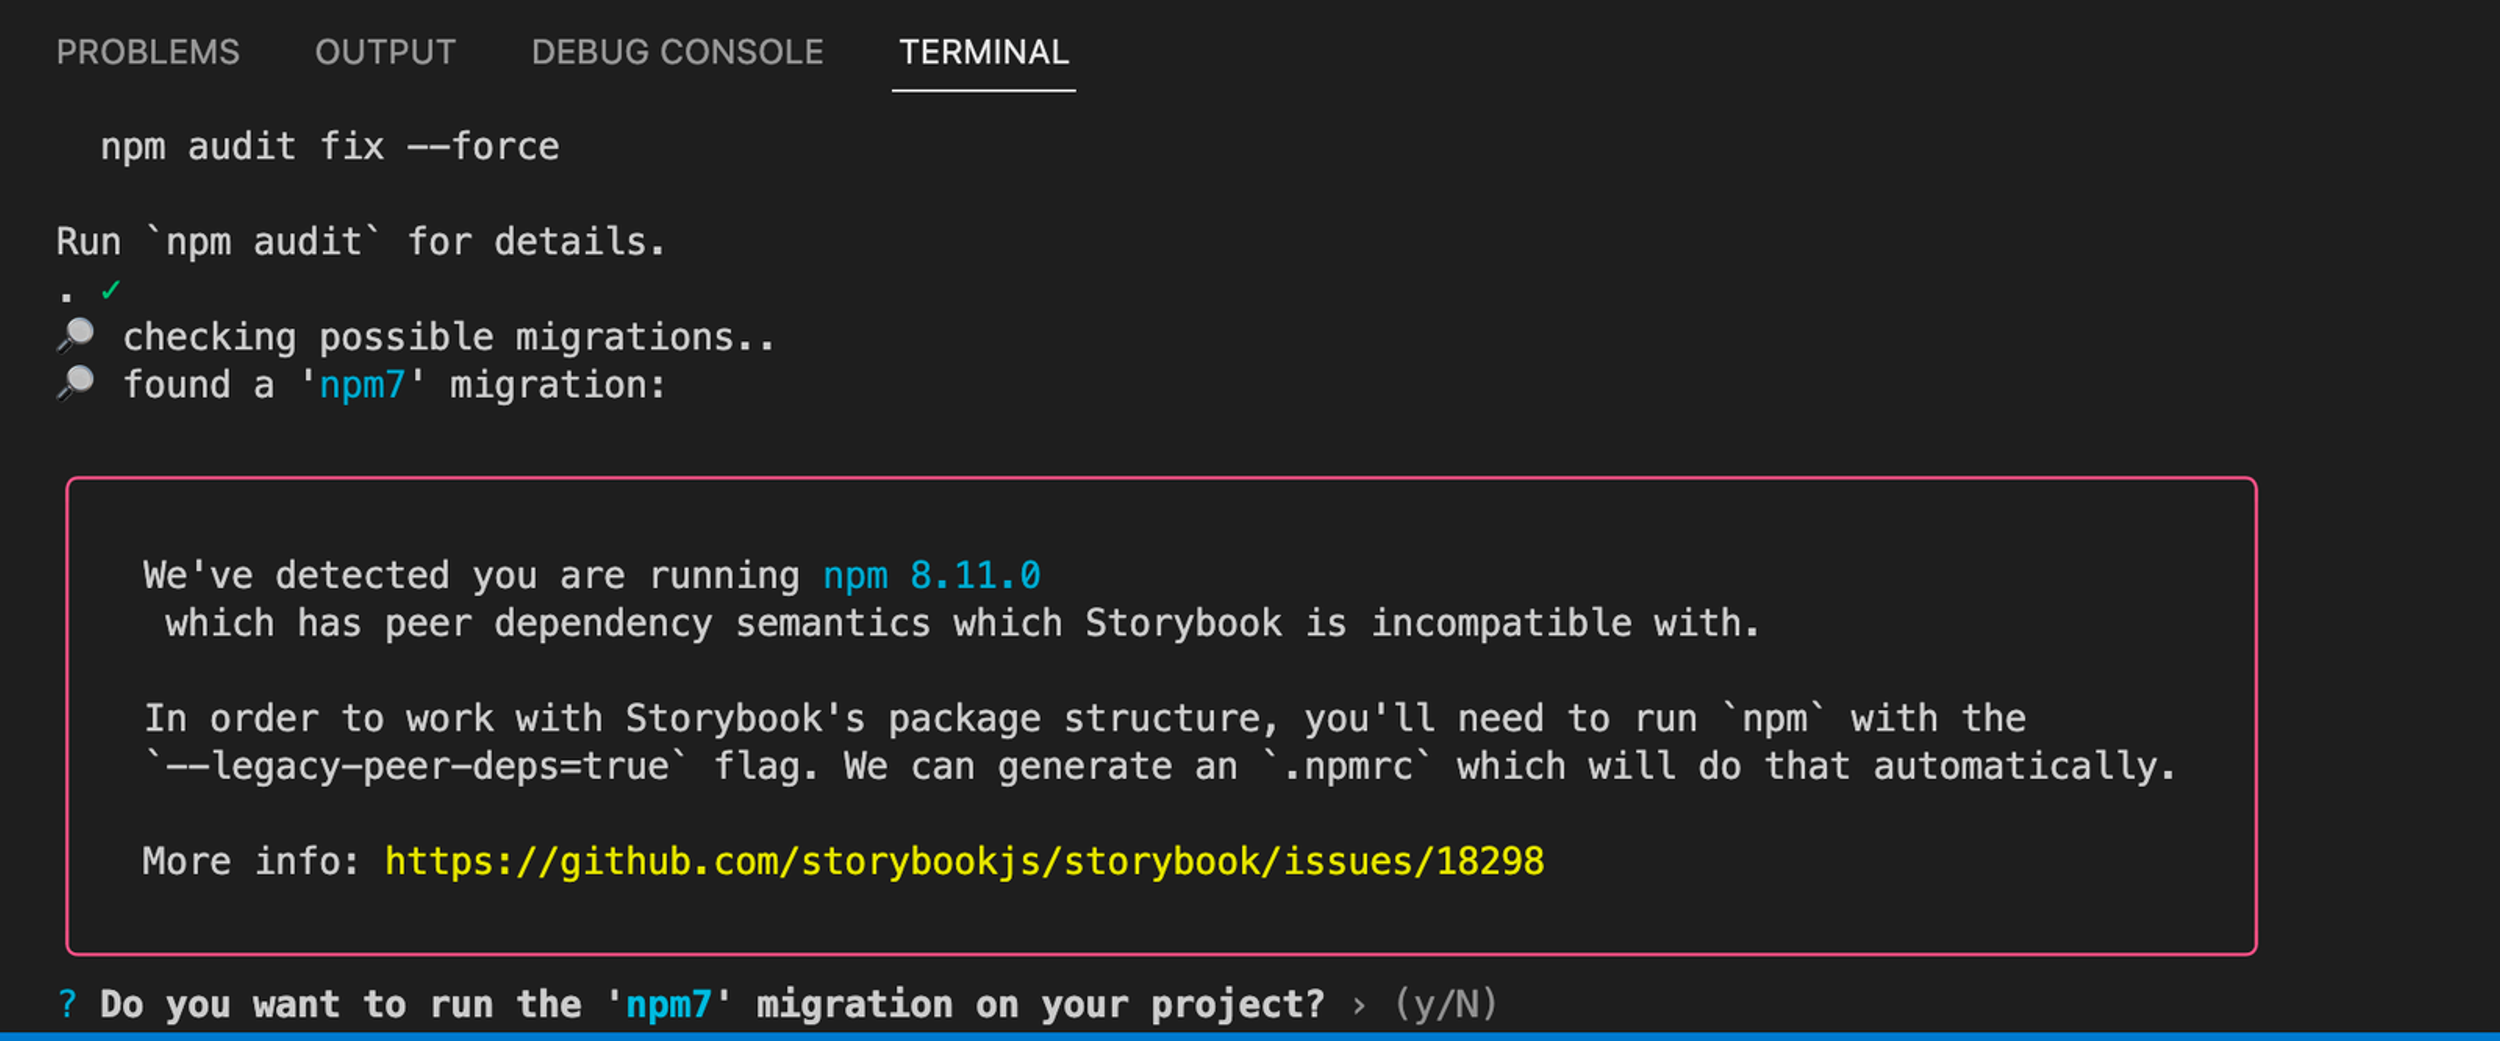
A) Open a new terminal and add Storybook 7 to the project
If you are asked to migrate the project to npm7, answer y.
B) Import the tailwind.css file to the .storybook preview.js file
C) Add some Tailwind classes to one of the stories
For instance you can add a nice orange background to the header element in .src/stories/Header.tsx:
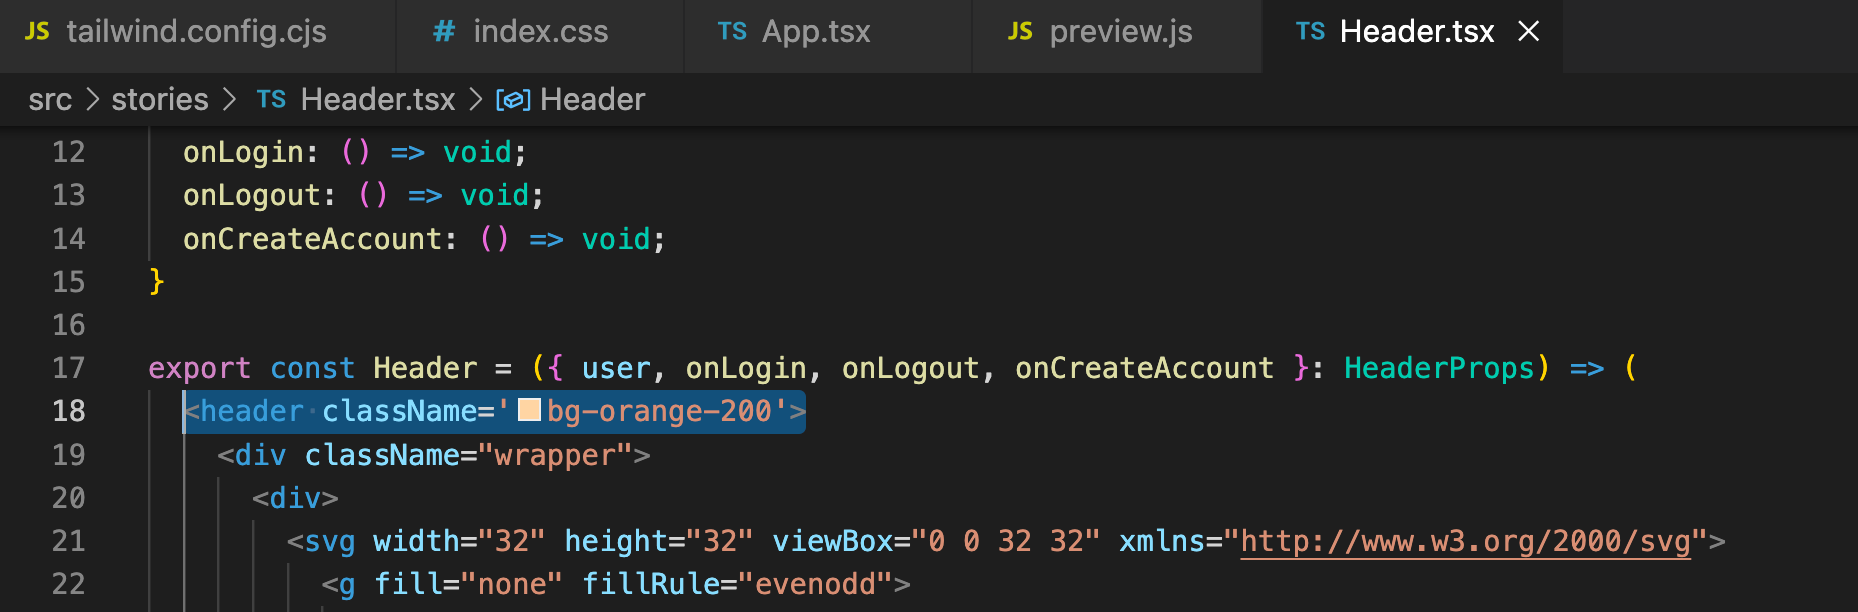

Showing the changes to the Header.tsx file
Showing the changes to the Header.tsx file
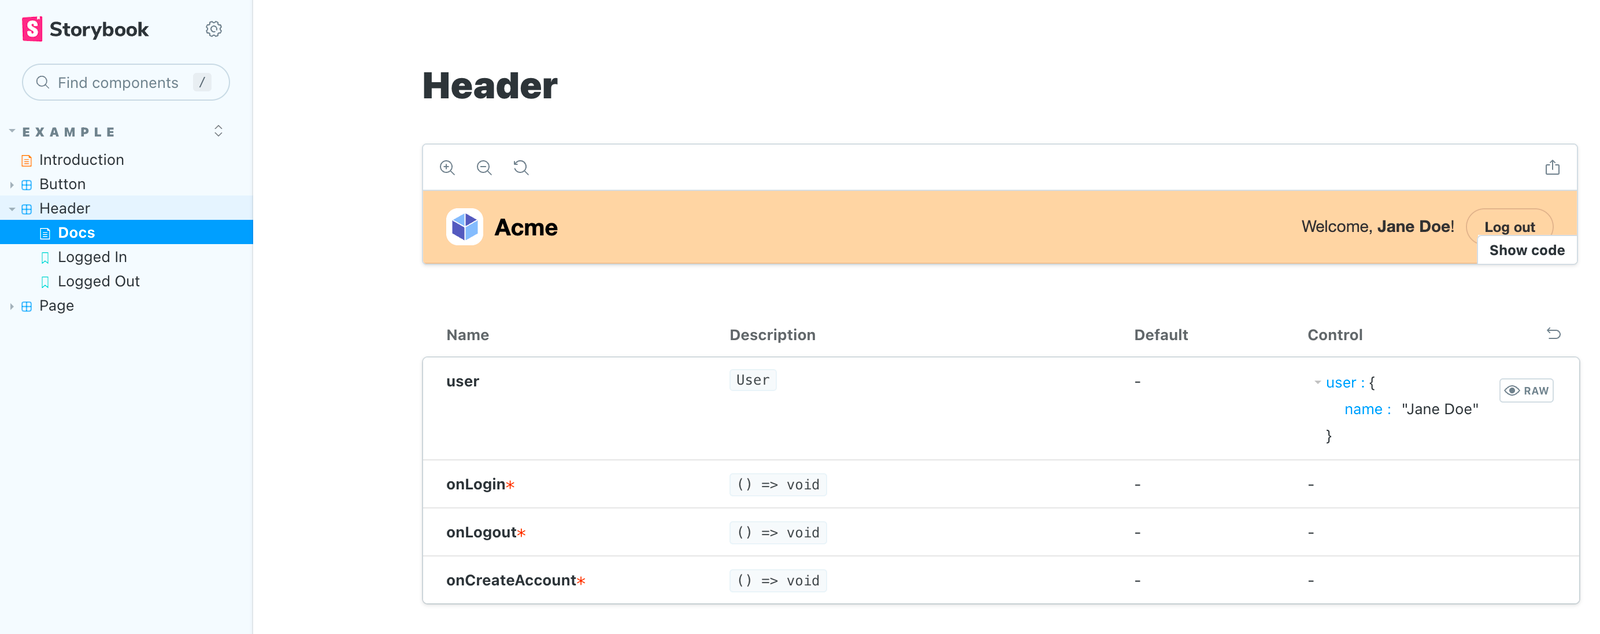
D) The result in Storybook should be something like this:

References and tips
This blog post is based on the following articles:
- https://storybook.js.org/blog/first-class-vite-support-in-storybook/
- https://vitejs.dev/guide/
- https://tailwindcss.com/docs/guides/vite
To get Tailwind suggestions and code completion, I use the Tailwind IntelliSense extension in VS Code. It will also show you the CSS for the different Tailwind classes, which is pretty handy. Happy coding!